Why do we need paper?
- Map out routes (if you do not have a compass)
- Record thoughts, ideas, findings
- Newspaper, books, archives
- Toilet paper
- Letters to connect people
- Knowledge, news, entertainment, art
Materials Required:
- Deckle
- Blender
- Blotting paper (preferably without dye so that it will not bleed on the paper) or paper towels
- A large plastic tub or small (depending on the size of paper you’re making)
- Pitcher
- Spoon
- Sheet of screening material slightly larger than the frame
- Drying pan/ rack
- Water (any temperature)
- Scrap paper (tickets, wrapping paper, tissue, mail, packing paper etc. but no newspaper)
- Flower petals and leaves (no sticks or stems)

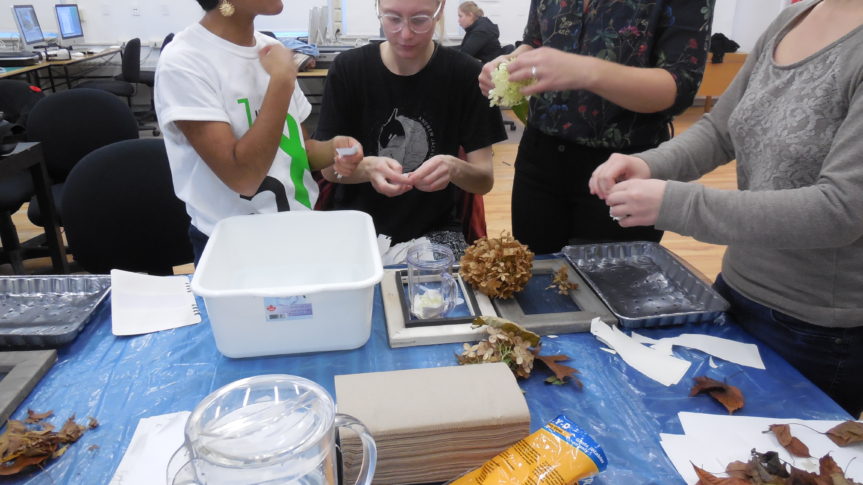
- Tear up the paper and leaves into smaller pieces. Fill the blender half way, loosely with the torn paper. Add the torn leaves into the blender. Add as many leaves as you would like, the more leaves you use the less amount of paper area you will see. Fill your blender ¾ with water and start the blender to mix everything together. Stop the blender when the leaves have broken down into finer bits and when the paper has turned into pulp.
 2. Fill the plastic tub a ¼ of the way with water. Assemble the two parts of the deckle together by having the frame with the screen facing upwards and the other frame with the foam strip facing down sitting on top of frame with the screen. The screen and foam strip should be sandwiched together between the two frames. Submerge the deckle into the tub with water. Once submerged, the water level should sit slightly above the frame with the screen. If the water is not above the screen pour some water in the tub until it is above. Have a partner hold down the deckle in the tub so it does not float when putting in the pulp.
 3. Take a spoon and spoon some of the pulp into the center opening of the deckle on top of the screen. Spread it around evenly on the deckle. Add as much pulp as you desire, the more pulp you add the longer it will take for the paper to dry and the thicker it will be.
 4. When you are done with the pulp, slowly lift the deckle up, still sandwiched together, from the water and let it drain. You can choose to take the deckle to the sink to remove the excess water or turn the deckle slightly to its side and rest the deckle on the edge of your plastic tub. Now remove the top frame of your deckle and your paper pulp should be resting on the screen material of the other half your deckle. At this point, you can choose to add flat leaves or petals on the surface of the paper pulp if you want some decoration.
 5. Take the cut out sheet of screening material and lay it on top of the pulp paper. Using your hands press on top of the screening material to remove and drain the remaining water from the pulp thus, stiffening the paper.
 6. Grab the blotting paper or paper towels and lay several sheets on top of the sheet of screening material that sits above your paper. Use your hands and apply pressure on top of the paper towels to remove excess water from the paper. Do not rush this stage as the more water you remove the faster it will dry.
 7. Remove the paper towel and the sheet of screening material from the paper. Put the screened deckle with the paper on it on to a table and the paper should peel away from the screened deckle. Lay the paper on to the cut out sheet of screen material and put it in the drying pan or rack.


Thanks to Theo for helping me with the set up and Andrew for documenting!
Leave a Reply
You must be logged in to post a comment.