


The Portable Herb Garden Diaries is an artist multiple as well as a useable kit. The idea began during the transitioning of the season from fall to winter. Plants are known to not sprout outdoors in the soil during the cold weather thus I thought why not have a plant that is transportable and can be grown indoors all year around in pots. I also wanted the work to feel personalized and catered towards each participant that is in possession of this kit. As a result, all the materials required were included in the kit as a sense of motivation.
This kit includes a big plant pot, plant markers, soil, manure, peat moss, a marker, paper plant cups, a scoop, a spray bottle, a disposable camera, herb seed paper (chives, rosemary, oregano, parsley), terra cotta bases, a napkin, and instructions. The plantable seed paper was inspired by handmade paper and by submerging the seeds into the paper for planting it supports the growth of the plant. Brief instructions are included due to the project being open for creativity and interpretation by the participants. Participants are expected to follow the procedures to successfully sprout the herbs. The participants are expected to document the occurrences of the plants however, the content of the photos are to be determined by the participants. The disposable camera is to be returned to me within a specific time frame. Whether the camera is empty or contains the roll of film, that is the participants discretion. If the participants decide to return the camera back to me with the film intact I will develop it to reveal the content of the photos.
Portable Herb Garden Diaries was shrink wrapped with all the contents contained within the wrapper and all the multiples were presented on top of a shelf lined up. Once the herbs have been fully grown they are ready to be preserved or used in cooking. Each herb has a different taste and scent. Some are mild and some are peppery. The Portable Herb Garden Diaries is an ongoing project that is left open for creativity, interpretation, and for participants to help me complete.
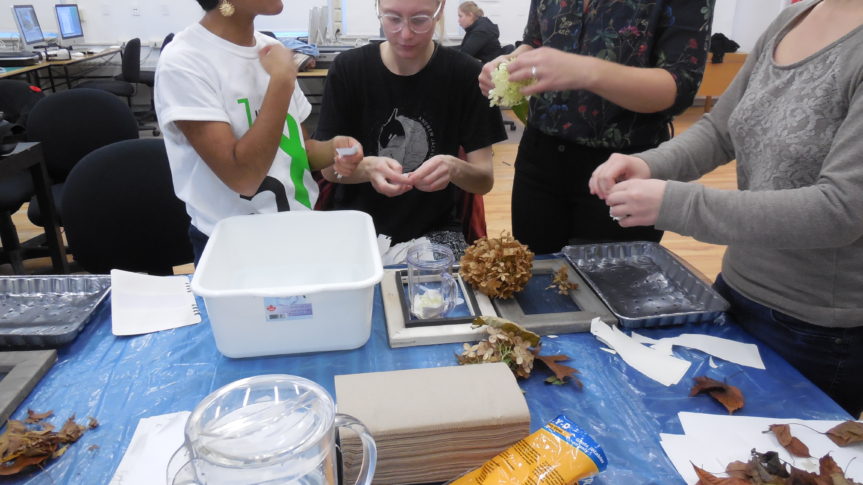

 2. Fill the plastic tub a ¼ of the way with water. Assemble the two parts of the deckle together by having the frame with the screen facing upwards and the other frame with the foam strip facing down sitting on top of frame with the screen. The screen and foam strip should be sandwiched together between the two frames. Submerge the deckle into the tub with water. Once submerged, the water level should sit slightly above the frame with the screen. If the water is not above the screen pour some water in the tub until it is above. Have a partner hold down the deckle in the tub so it does not float when putting in the pulp.
 3. Take a spoon and spoon some of the pulp into the center opening of the deckle on top of the screen. Spread it around evenly on the deckle. Add as much pulp as you desire, the more pulp you add the longer it will take for the paper to dry and the thicker it will be.
 4. When you are done with the pulp, slowly lift the deckle up, still sandwiched together, from the water and let it drain. You can choose to take the deckle to the sink to remove the excess water or turn the deckle slightly to its side and rest the deckle on the edge of your plastic tub. Now remove the top frame of your deckle and your paper pulp should be resting on the screen material of the other half your deckle. At this point, you can choose to add flat leaves or petals on the surface of the paper pulp if you want some decoration.
You must be logged in to post a comment.