Lucid dreaming has been widely practiced throughout history. In Buddhist and Hindu meditation a state similar to that experienced when lucid dreaming has been practiced since ancient times. This state is called Yoga nidra. In the western cannon the earliest reference to lucid dreaming comes from Aristotle, quoted below:
Often when one is asleep, there is something in consciousness which declares that what then presents itself is but a dream.
The term “lucid dream” was coined in the late 19th century by Dutch psychiatrist Frederick van Eeden.
Lucid dreaming was seen as something very hard to study scientifically because no reliable method had been found to prove the subject’s claims of lucidity while asleep. In the late 1970s, however, researchers discovered that during REM sleep, the subject’s eye movements correspond to actions in their dreams. With this knowledge researchers were able to accurately study lucidity by recording pre-determined eye-movements while the subject was asleep.
Current scientific exploration in lucid dreaming involves electrically stimulating the subjects brain to induce the lucid state. This research has been proposed as therapy for patients suffering from PTSD and has already proven helpful for patients with recurring nightmares.
For those of us without access to electrical stimulation, there are many ways which we can train ourselves to become regular lucid dreamers. There is no easy way to learn quickly and have a lucid dreaming experience in one night, it is a process that many people dedicate months to before experiencing any result.
Here are some tips that I found most useful and unanimous across many sources:
1 – Keep a dream journal, and write in it right when you wake up and you still remember your dream. Many times, you may half wake up and convince yourself that you don’t need to write your dream down because you’ll remember it before drifting back to sleep. Fight this urge, because you will probably forget it.
The more you write down, the more you will remember the next night. By going through your journal after many nights, you can begin to identify themes specific to your dreams that will later help you realize you are dreaming and become lucid.
2 – Perform reality checks while awake. These can be things like reading something and re-reading it to see if the text has changed, closing your mouth and nose and trying to breath, looking down at your hands or feet, or looking at your reflection in a mirror to check for distortions.
By performing these checks on a semi-regular basis while awake, the techniques will begin to enter your dreams as regular everyday activities. The hope is that while asleep you will recognize that something is off when the result of the activity doesn’t quite match reality, and in doing so realize you are dreaming and become lucid.
3 – Mugwort. Mugwort is a common plant used in cooking and traditional Chinese medicine. Its flowers can be dried and turned into a tea that is said to bring vivid dreams.

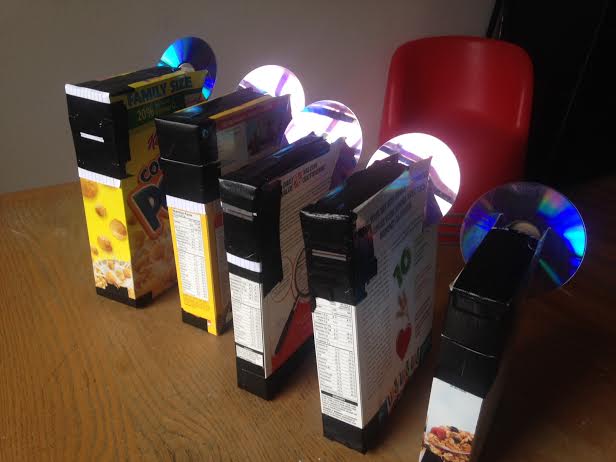
4 – Building a dream altar. A dream altar is a way to give a tangible form to ideas and feelings you want to bring into your dreams. It is a way to focus your energy on these ideas so that they easily transfer into your unconscious mind. The altar is meant to be kept in the room you sleep in, and it is interesting to note that even a messy bedside table can become an unintentional altar that may bring anxious dreams.
With those parameters you can really include anything in your dream altar. Many people choose to include tokens from past dreams and metaphorical items are encouraged.
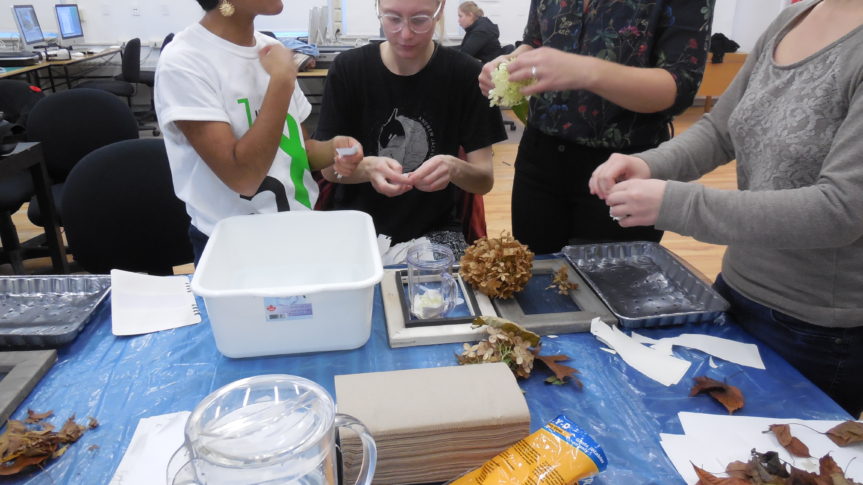
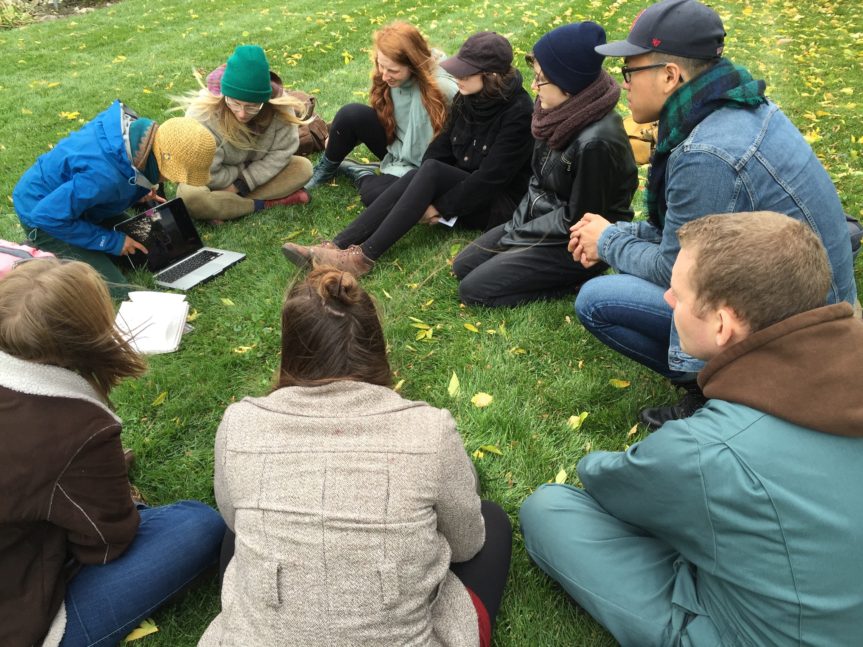
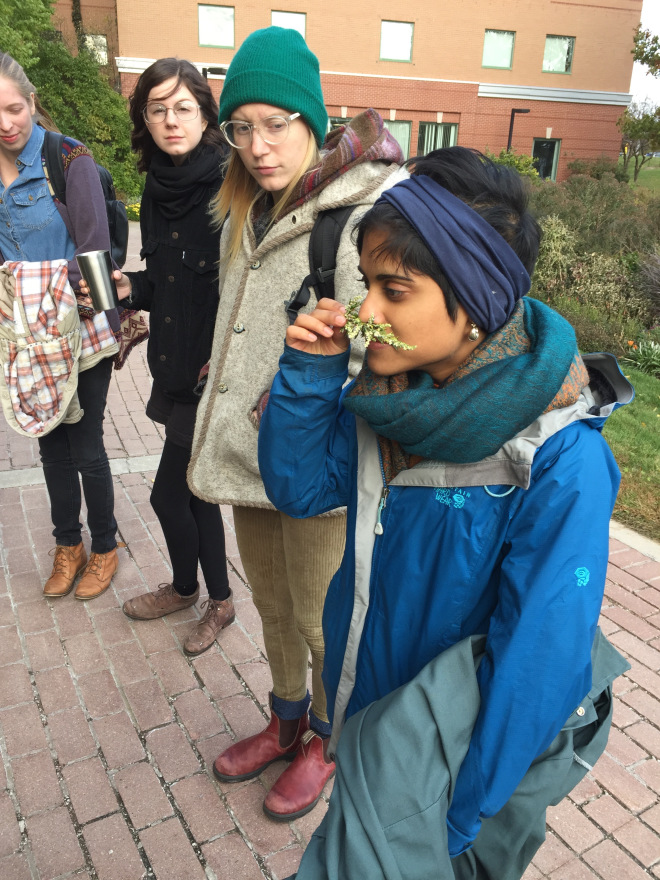
For our class workshop, we used items from the Bovey Garden. Items were chosen based on name, smell, touch, and aesthetics.
Here are some of the classes altars (click for full images):
During the workshop, Kelly mentioned a podcast on dreams and sleep, which I’ve linked here and recommend everybody listen to!


 2. Fill the plastic tub a ¼ of the way with water. Assemble the two parts of the deckle together by having the frame with the screen facing upwards and the other frame with the foam strip facing down sitting on top of frame with the screen. The screen and foam strip should be sandwiched together between the two frames. Submerge the deckle into the tub with water. Once submerged, the water level should sit slightly above the frame with the screen. If the water is not above the screen pour some water in the tub until it is above. Have a partner hold down the deckle in the tub so it does not float when putting in the pulp.
 3. Take a spoon and spoon some of the pulp into the center opening of the deckle on top of the screen. Spread it around evenly on the deckle. Add as much pulp as you desire, the more pulp you add the longer it will take for the paper to dry and the thicker it will be.
 4. When you are done with the pulp, slowly lift the deckle up, still sandwiched together, from the water and let it drain. You can choose to take the deckle to the sink to remove the excess water or turn the deckle slightly to its side and rest the deckle on the edge of your plastic tub. Now remove the top frame of your deckle and your paper pulp should be resting on the screen material of the other half your deckle. At this point, you can choose to add flat leaves or petals on the surface of the paper pulp if you want some decoration.
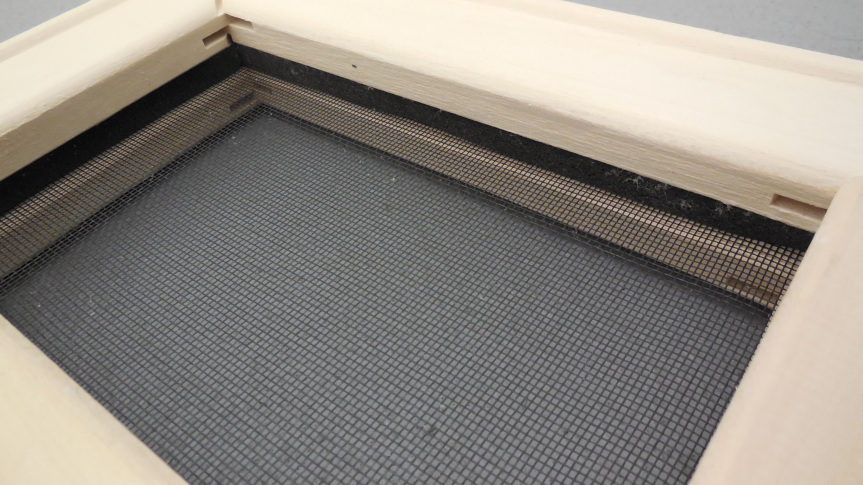


 ummer I embarked on the Camino de Santiago (the Way of Saint James) – a thousand-year-old 800km pilgrimage which began in Saint Jean Pied de Port in France and ended in Compostella in Spain. It was gruelling but perfect. I learnt a lot about my body and how to gently control my walking and thoughts. I accidentally left one of my orthotics in Paris before I boarded a train to Bayonne and then continued on a bus to Saint Jean Pied de Port in near tears. The next day we hiked the Pyrannes and entered Spain. After a bout of heat exhaustion and painful ankels and knees, I realized how much of this trip needed to focus on my own control and understanding of my body as I completed the 800km hike without orthotics.


You must be logged in to post a comment.