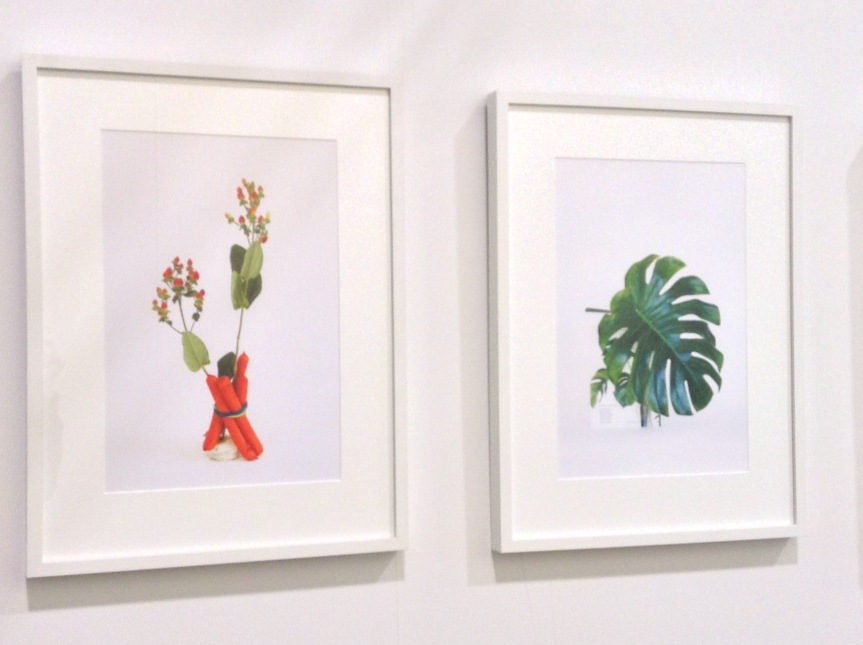
On October 23, 2015 I (Katie) went to the Toronto International Art Fair with the Specialized Studio Practice group. While I was there I encountered two works by Diane! Represented by The Drake, here are Diane’s two pieces: (which also happens to fit perfectly with the topic of this course). Great job Diane!
Month: October 2015
-
How to Lucid Dream and Create a Dream Altar
Lucid dreaming has been widely practiced throughout history. In Buddhist and Hindu meditation a state similar to that experienced when lucid dreaming has been practiced since ancient times. This state is called Yoga nidra. In the western cannon the earliest reference to lucid dreaming comes from Aristotle, quoted below:
Often when one is asleep, there is something in consciousness which declares that what then presents itself is but a dream.
The term “lucid dream” was coined in the late 19th century by Dutch psychiatrist Frederick van Eeden.
Lucid dreaming was seen as something very hard to study scientifically because no reliable method had been found to prove the subject’s claims of lucidity while asleep. In the late 1970s, however, researchers discovered that during REM sleep, the subject’s eye movements correspond to actions in their dreams. With this knowledge researchers were able to accurately study lucidity by recording pre-determined eye-movements while the subject was asleep.
Current scientific exploration in lucid dreaming involves electrically stimulating the subjects brain to induce the lucid state. This research has been proposed as therapy for patients suffering from PTSD and has already proven helpful for patients with recurring nightmares.
For those of us without access to electrical stimulation, there are many ways which we can train ourselves to become regular lucid dreamers. There is no easy way to learn quickly and have a lucid dreaming experience in one night, it is a process that many people dedicate months to before experiencing any result.
Here are some tips that I found most useful and unanimous across many sources:
1 – Keep a dream journal, and write in it right when you wake up and you still remember your dream. Many times, you may half wake up and convince yourself that you don’t need to write your dream down because you’ll remember it before drifting back to sleep. Fight this urge, because you will probably forget it.
The more you write down, the more you will remember the next night. By going through your journal after many nights, you can begin to identify themes specific to your dreams that will later help you realize you are dreaming and become lucid.
2 – Perform reality checks while awake. These can be things like reading something and re-reading it to see if the text has changed, closing your mouth and nose and trying to breath, looking down at your hands or feet, or looking at your reflection in a mirror to check for distortions.
By performing these checks on a semi-regular basis while awake, the techniques will begin to enter your dreams as regular everyday activities. The hope is that while asleep you will recognize that something is off when the result of the activity doesn’t quite match reality, and in doing so realize you are dreaming and become lucid.
3 – Mugwort. Mugwort is a common plant used in cooking and traditional Chinese medicine. Its flowers can be dried and turned into a tea that is said to bring vivid dreams.
4 – Building a dream altar. A dream altar is a way to give a tangible form to ideas and feelings you want to bring into your dreams. It is a way to focus your energy on these ideas so that they easily transfer into your unconscious mind. The altar is meant to be kept in the room you sleep in, and it is interesting to note that even a messy bedside table can become an unintentional altar that may bring anxious dreams.
With those parameters you can really include anything in your dream altar. Many people choose to include tokens from past dreams and metaphorical items are encouraged.
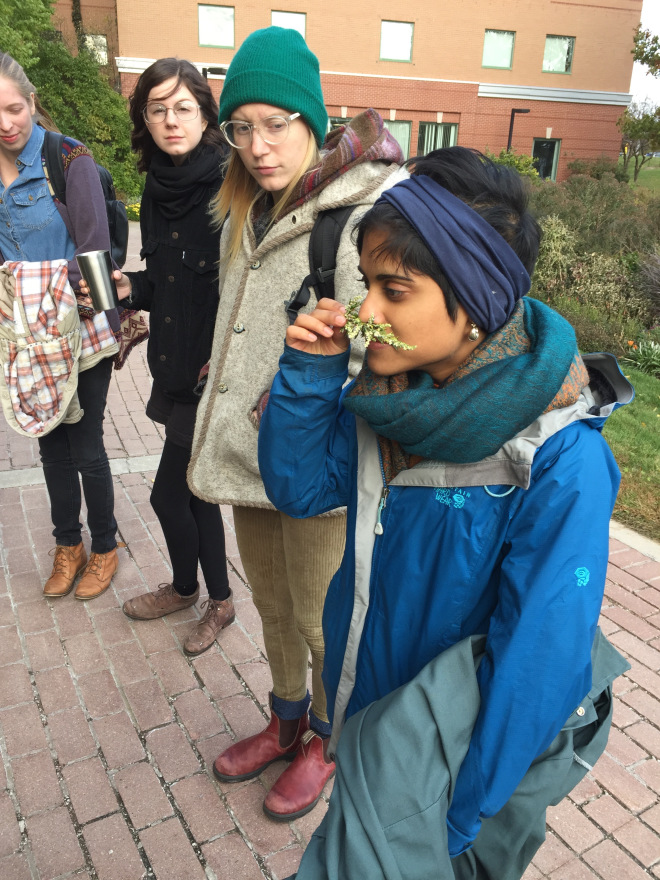
For our class workshop, we used items from the Bovey Garden. Items were chosen based on name, smell, touch, and aesthetics.
Here are some of the classes altars (click for full images):
During the workshop, Kelly mentioned a podcast on dreams and sleep, which I’ve linked here and recommend everybody listen to!
-

Cloud Appreciation
Clouds influence the lives of humans on a daily basis yet it is so common that they are overlooked and under appreciated. Today I Googled “cloud” and my search turned up hundreds of articles about “icloud”, “cloud computing”, and “cloud storage”.
We sensationalize the enigmatic nature of these fluffy objects by naming our computer software after them. However, for most Canadians, our cloud education ends after grade school. Luckily, that does not mean we cannot return to appreciate clouds later on in life.
The term “cloud” is defined in the Marriam-Webster English Dictionary as a visible mass of particles of condensed vapour (as water or ice) suspended in the atmosphere of a planet (as the earth) or moon.
I have assembled a brief list of cloud genera to refresh my fellow colleagues and peers:
Cloud Basics:
There are three levels of common clouds to know: high clouds, mid clouds, and low clouds.
High clouds include:
1. Cirrus
-detached, white filaments
-mostly in patches or bands
-composed of ice crystals

2. Cirrostratus
-smooth, hair-like appearance
– transparent and covers most of the sky

3. Cirrocumulus
-layered thin clouds
-appearance of grains or ripples in the texture

Mid clouds include:
1. Altostratus
-striated or fibrous clouds that cover most of the sky
-dark grey or blue in colour
-occasionally reveals the sun

2. Altocumulus
-layered clouds in the form of round masses or rolls
– may be fibrous or diffuse
-white and/or grey in colour

3. Nimbostratus
-diffuse cloud base
-dark grey, often recognized as a rain cloud
-thick enough to block the sun

Low clouds include:
1. Cumulus
-dense with sharp outlines
-develop vertically
-sections that light hits are bright white, the rest is grey

2. Cumulonimbus
-upper portion smooth and fibrous
-dense, appears in the form of a mountain

3. Stratus
-grey with a uniform base
-produces drizzle, ice grains, and snow prisms

4. Stratocumulus
-patchy clouds with dark tessellations
-rounded masses or rolls

As I was refreshing my knowledge of clouds, I happened upon this very interesting blog post on rare cloud formations. When you start to appreciate clouds, your world becomes more enriched. Identify a cloud the next time you are outside!
-
How to make a DIY space heater without electricity

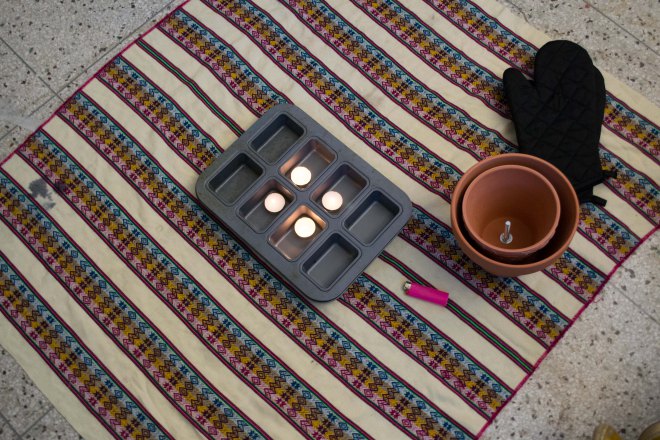
screwing in the nuts and washers WHAT YOU WILL NEED:
2 different sized terracotta flower pots
1 bolt that will fit in the pot holes
4 washers
2 nuts
something to lift the pots – a baking pan is ideal
1 or more candles – the more flames the better!
1 lighter

building the structure First, attach the smaller pot to the inside of the larger one, by inserting the bolt into the hole. Put a washer on every time the terracotta will touch metal. Screw on the nuts tightly. Place candles in the baking sheet. Light them.

Diane feeling for the heat Next, place the attached pots upside down overtop of the lit candles. Wait about 20-30 minutes, and it will begin radiating heat. Be safe! Make sure the candles/pots won’t get tipped over easily and that the pots are secured ontop of the baking sheet.
Heating a space without electricity is useful for situations when you can’t afford/don’t have access to adequate heating in your home, to save money, living in a portable shelter such as a car or a tent, or choosing to live “off-grid.” It can be used in black-out situations, or if you ever choose to build a cabin for yourself in the woods. Really, anytime you need to heat a space and don’t want to use/cannot use electricity.
DIY projects such as these are often attributed to the “living off-grid” ideology/movement, but are not restricted to it. You don’t have to have an off-grid lifestyle to implement ideas such as these into your life, or use when it is appropriate for you.
-
Nina Katchadourian – Uninvited Collaborations with Nature
Natural Crossdressing
After spotting some caterpillars on a birch tree, Nina thought that a pair of them would make a perfect moustache. Using honey to help encourage the caterpillars to stop crawling up her nose and stay on her upper lip, she photographed her new look. Crossdressing, an act that is generally thought of as a highly unnatural act, transpires here using entirely natural materials
Mended Spiderweb Series
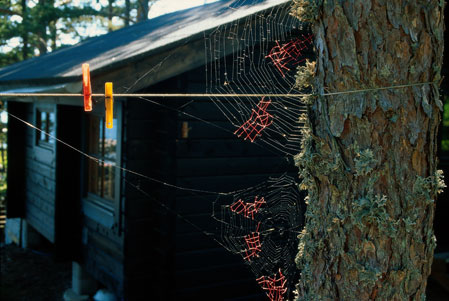
Nina searched in the forest for broken spider webs which she mended with red sewing thread. These repairing patches were made by inserting segments of the thread one at a time directly onto the web. Smaller threads were held together by the web itself whereas larger pieces were assisted with white glue.
Nina often found that in the process, she would accidentally cause more damage to the web. Then later, the spider would reject her repaired patch and replace it with its own web again, leaving the red thread to fall on the floor.
Nina also thought that she would take the opportunity to teach the spiders how to advertise:
-
Farmers Market – Organic Produce
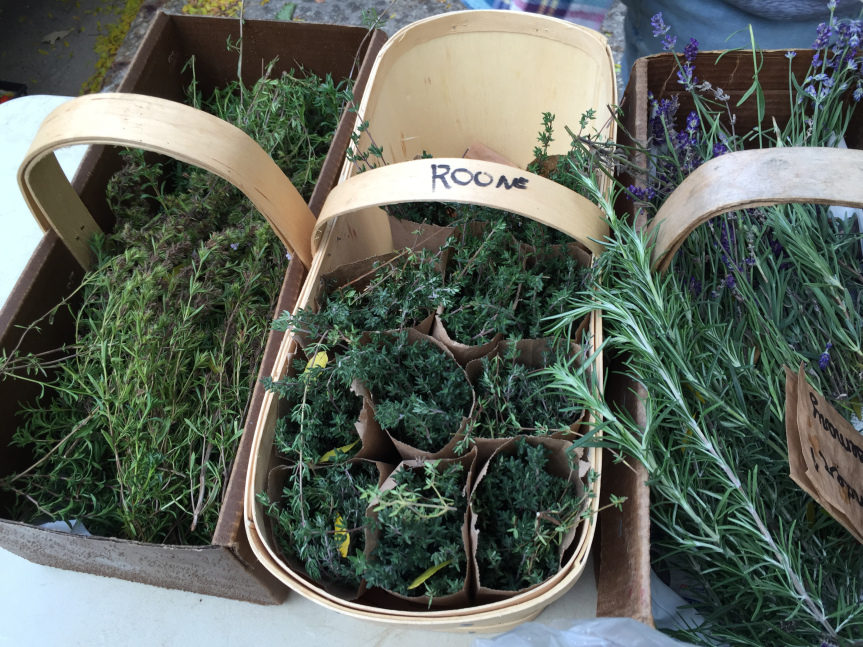
The farmers market at The University of Guelph sells fresh, local, organic produce that was grown either on campus or sourced from local fruit farms. By visiting the farmers market I was able to talk to some knowledgeable students and representatives from the HORT 3510 Vegetable Production course, who are also the ones that created this campus farmers market along with the Guelph Center for Urban Organic Farming. After speaking with a couple of representatives, not only did it inspire my final assignment but I learned the benefits of certain produce and what makes it organic.
I asked Pat (a student and representative of the farmers market) several questions:
What makes vegetables organic? It is certified and it must be certified in Canada in order for it to be called organic. It is not about the food you provide to people but more about the way you grow the food. Organic is about knowing what is happening to the land and having a general knowledge of it. To be organic you can’t use synthetic sprays, for the most part you can’t use organic sprays either and you must have a lot of care for the soil. If you go to a conventional farm you will notice that the soil they use are terrible quality, the top soil layer is super thin, has no nutrient content, no bacteria, and no fungus.
If you go to the farm that grows the organic produce at the University, you will notice that they have a huge top soil layer, have a whole bunch of organic matter in the soil because they are putting back the organic matter in to the soil, have a huge cross section of different bacteria and funguses in order to have a proper environment.
For organic farmers it is about putting back in to the environment or integrating in the environment while conventional farms are more about taking things out of the environment.
A general description of how the vegetables are grown:
The way that they are grown or the process behind it is that the University of Guelph buys their own seeds, put the seeds in to a small seed tray and grow them out. In the beginning of the year they put it in the greenhouse and let it grow there for the year. Once it gets to a certain size they pot it up or put it in a bigger spot or put it directly out in to the field (called transplant). Once it is planted out in the field they hand water it over irrigation, pay attention to it and let it grow out. If it is a fruit they try to protect its colony and if it is lettuce they attempt to protect it from pests and animals that come in and wait until it is ready and then harvest it.
Which types of vegetables are beneficial to the body?
All of them! Certain vegetables like the bitter melons (pictured above) are good for the digestive system and it keeps your digestive system working properly. Eating tomatoes is supposed to help you deal with sun burns. Herbs like cilantro or parsley have a very high nutritional value. Herbs are extremely beneficial to the body because they are nutritionally dense and minerally dense thus, eating small amounts of them will do the job.
-
Fish and Game Club
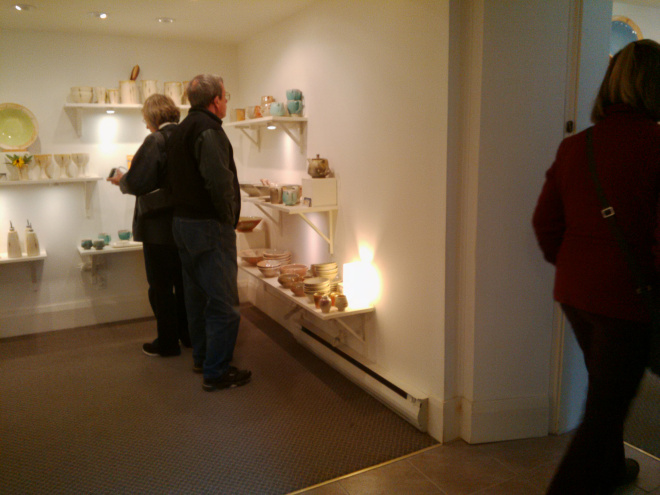
Members of my family have been part of this club for a long time, and despite having the word game in the title, the Fish and Game club isn’t centered around hunting, at least not so much anymore. They do fish throughout the summer though. They’re very community based; the meetings I went to were very focused on having discussions about the lake the club is on, and getting people’s opinions on matters brought up by the president. After one of the meetings, we went for a walk and they showed me “blocks” that my grandfather had built in order to help preserve the shoreline.
The area the club house is built on was once a gravel pit, so when harsh rains would come their way the water would run down the hill and basically ruin the shoreline. And then there’s the waves from the lake itself and it was just a mess. These blocks help keep the shoreline from receding by allowing the water to drain through them and keep the dirt and gravel intact. Very cool. We also went out and walked to an island that is usually not accessible due to the lake itself. As we went across, they talked about how interesting it was to see what was on the bottom of the lake, like the stones and the neat little clusters and formations they formed over time, and how the different levels of the lake’s bottom were now visible.
It was mucky…very mucky…but very worth it. There were even stumps from trees that were once rooted in the lake who knows how many years ago.
-
Guelph Centre for Urban Organic Farming
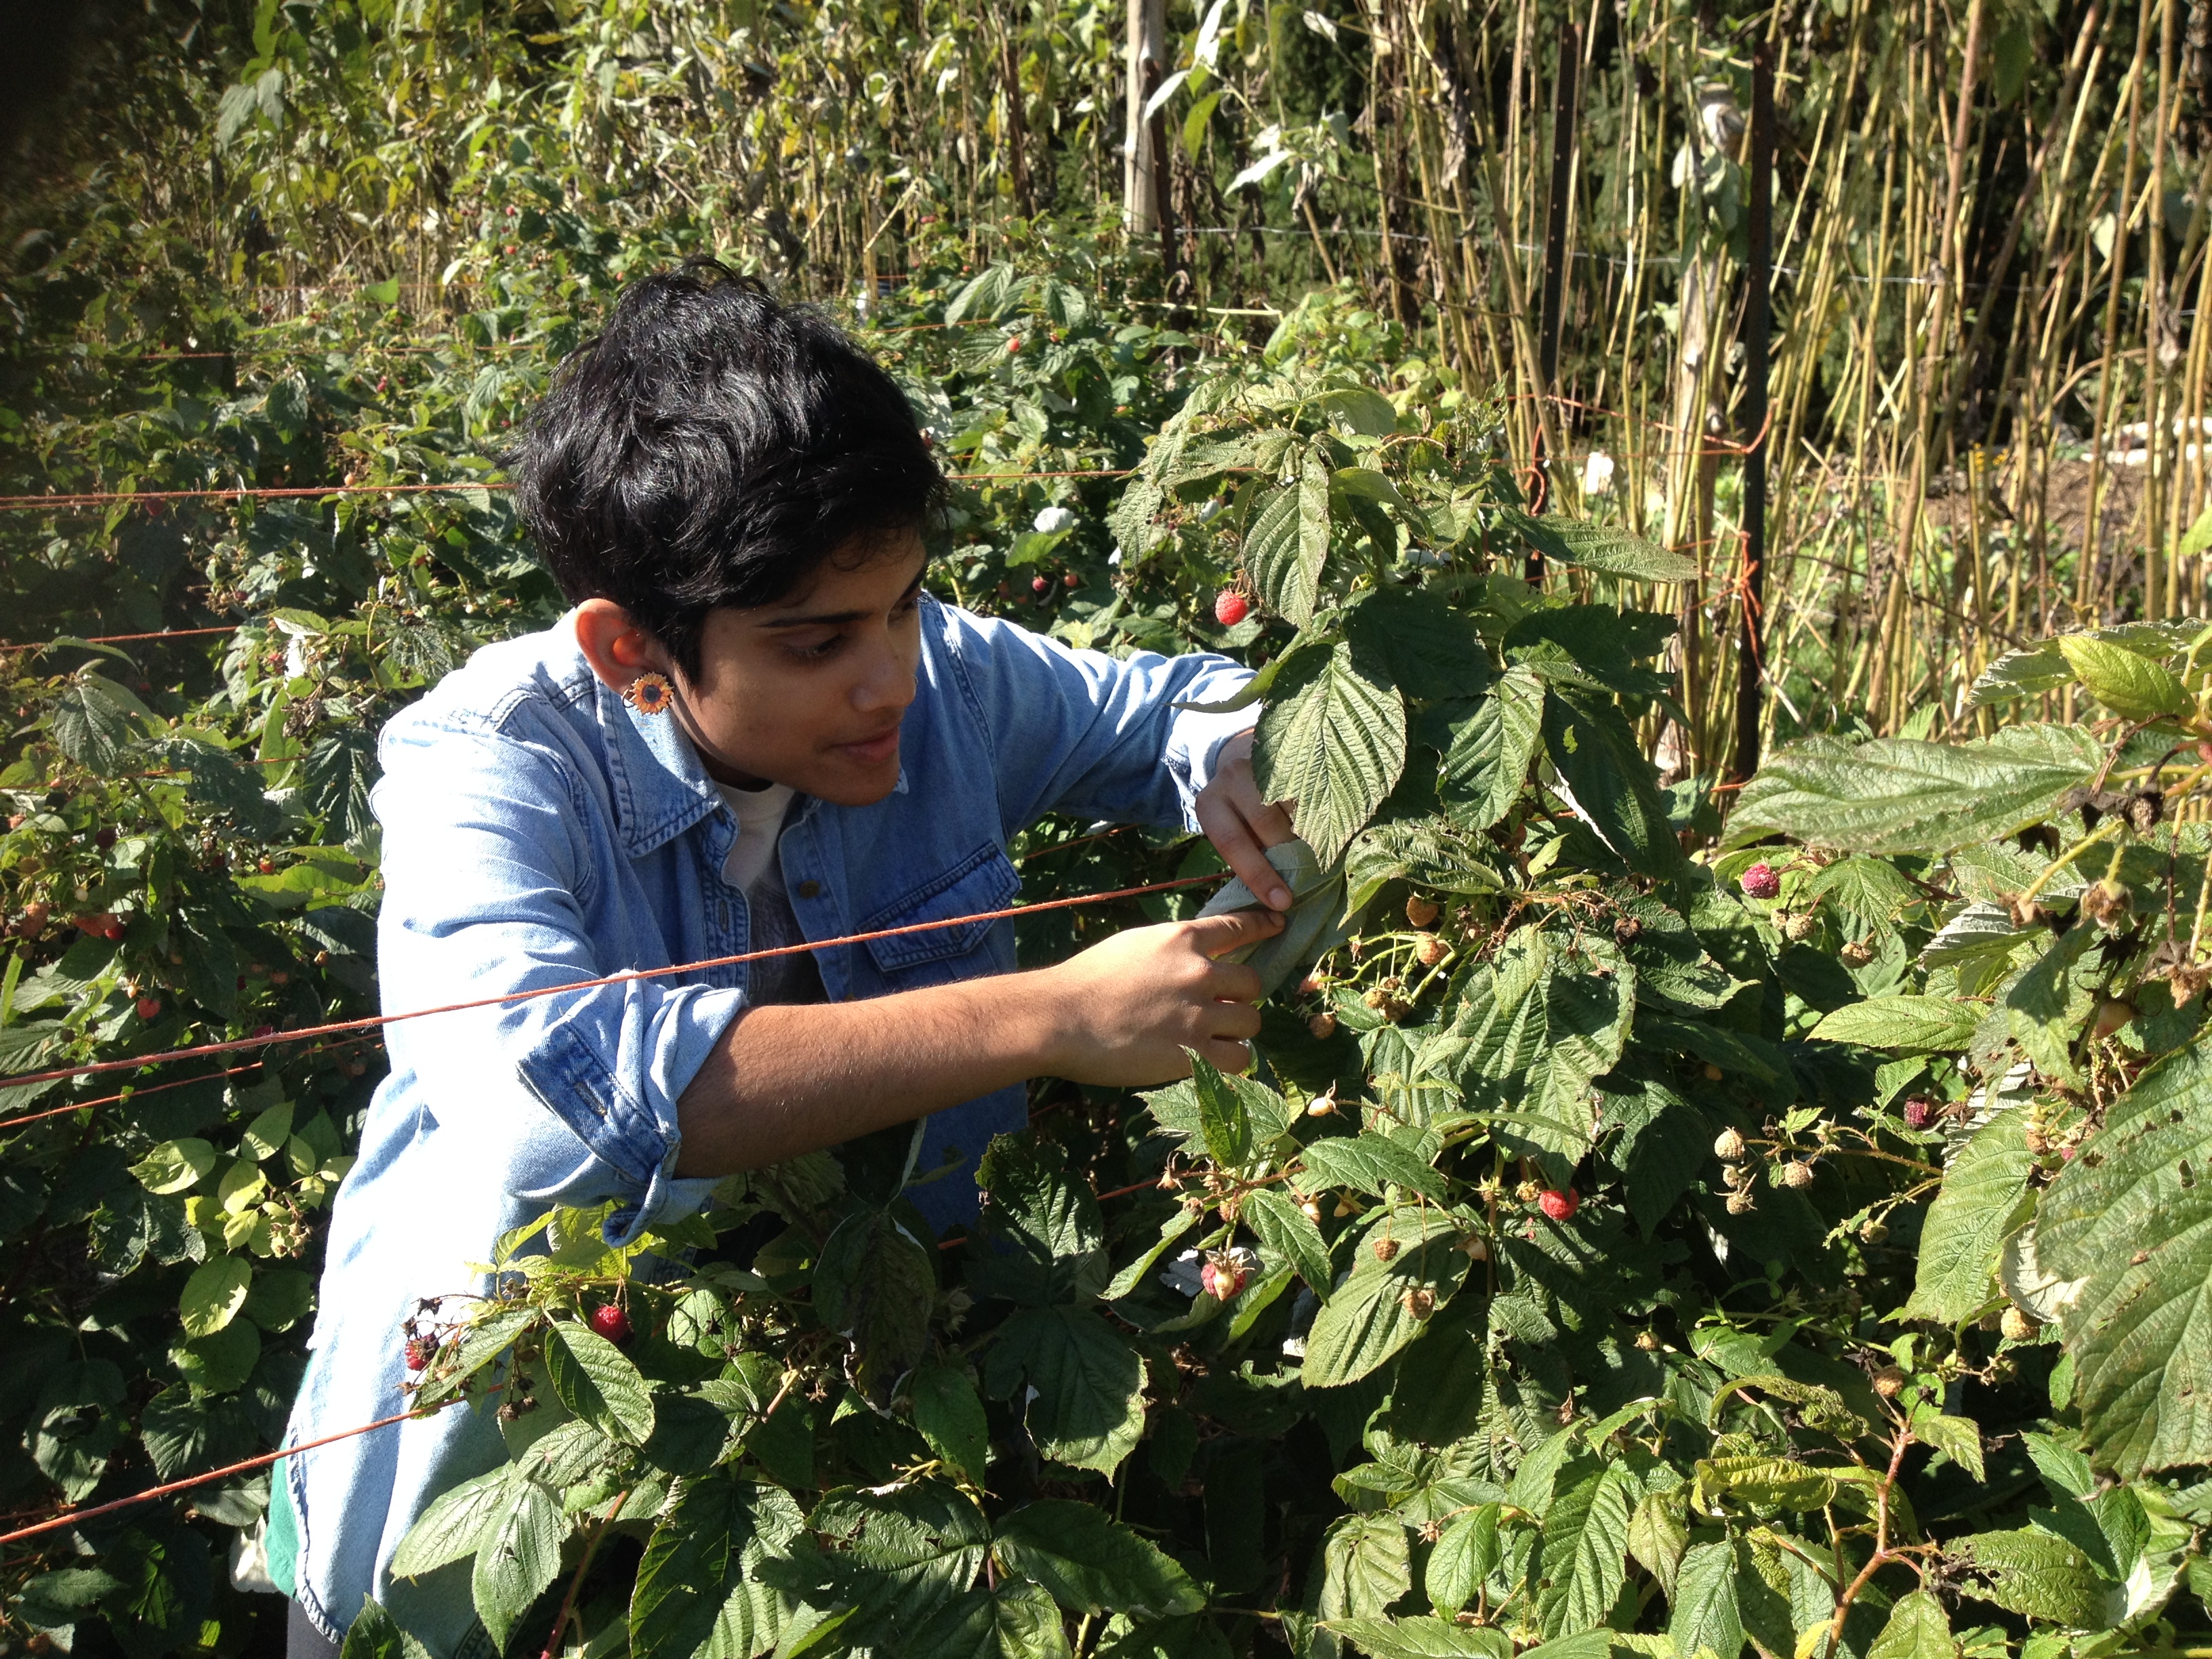
The Guelph centre for Urban Organic Farming consists of one hectare of research and teaching land and was established by the Ontario Agriculture College and the Department of Plant Agriculture at the University of Guelph. Through the center, students take courses focused on food production, food security and environmental health and so much more. Volunteers are welcome to lend a hand and learn a little bit about urban organic farming. Each Thursday the farm hosts an organic market where they sell organic produce grown on campus to students and the community 3-6pm near Rozanski Hall. Outdoor-schooler-s Andrew and Sonali joined the food production course in the harvest frenzy last thursday before the market.They jived with lady bugs for some of the last sweet raspberries of the season.
Sonali is interested in our connections to the processes which nourish us and keep us alive. She feels that food production, particularly small scale organic food production is the answer to how we can feed ourselves and each other. As artists interested in process she found the farm a great place of inspiration as her hands moved and the wheels in her brain turned on topics of consumption, accessibility, education, and labour.
Andrew found that farming really gave him the opportunity to learn what it’s like to grow and collect your own food. Through this experience he learned a lot about how much minuet detail goes into the collection and possessing of natural homegrown foods. This showed him how it takes a team effort to accomplish such a wonderful goal.
They ate some of their rewards and finished the day with bunching shallots and ripping up tomato plants.
-
The Bovey Greenhouse
I enjoyed our reading expedition to the Bovey building very much, and decided to explore a bit further. I interviewed someone I met from the Horticulture club, and produced this short video giving an overview of the potting room and public access to the greenhouse.
-
Horticulture Club
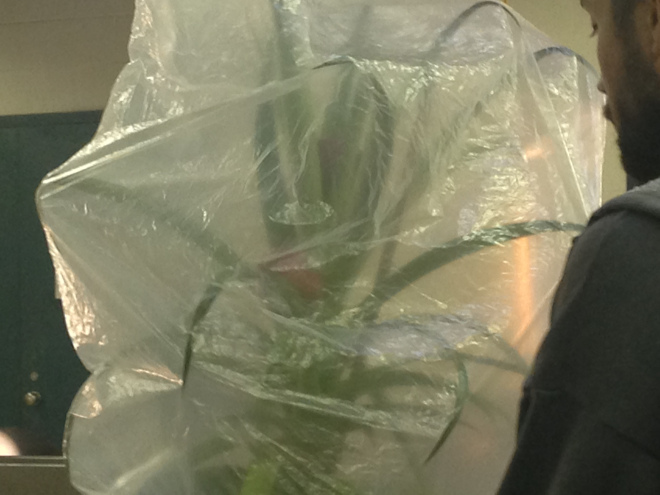
After joining the Horticulture Club, and previously knowing very minimal about plants and how to care for them, we have learned so much. The Horticulture Club aims to bring people together to educate, learn, explore and have fun with plants.
Activity 1: Dinosaur Planters
An activity that we had the privilege of participating in was planting grass and moss into wire frames that were in the shapes of fun animals and dinosaurs! We got to work on the Brachiosaurus shaped frame. We were instructed to start by emptying the old dirt that had been unchanged for the past 20 years of use, and to pack it full with fresh new dirt.
We were then able to plant some grass seeds into the dirt, and were encouraged to make fun designs with it! We then learned how we can grow our own moss, which was very interesting. We observed as some of the executive members of the group explained that when you put equal parts of buttermilk and water into a blender, and then add a bit of existing moss (dead or alive) and blend it up, you can then pour or paint this sludge mixture onto dirt- or whatever you please! Moss grows best in areas with more shade, and misted with water.
We decided that our dinosaur would look best with a grass-y spikey Mohawk, beard and fuzzy boots, with a mossy body. It will be excited to see the outcome once the seeds start sprouting and growing! It was a great activity to get everyone’s hands dirty, and learn how to re-purpose old items into new life to decorate a space.
(long post ahead, click to read more) (more…)


You must be logged in to post a comment.